Saturday, June 30, 2012

Visiting Harry . . .

I'm blogging slightly out of order today, as I wanted to get my Scrapbook Boutique page posted before it closed.  Here's a page that I started a bit over a week ago, the first day that I didn't come straight home from school and go to bed with the cold I was fighting . . . with work and sick kids it still took a this very simple page took a week to finish.

I used a starting point from Shimelle's blog.  Here's how hers started here:

 
My version consists of a dark grey cardstock background, and off-cuts from My Minds Eye and Echo Park papers that I bought earlier this year.  The only new product is the "eggshell" cardstock which I used for the photo mat and the title.  And yes, I know I own twine now, but not in the right colour, so it's fibres again!


Do you recognise that flying Ford Anglia?  This page is about the day trip we took down to the Powerhouse Museum in Sydney to see the Harry Potter exhibition back in January.  A little pricey for a family of 5, but considering we'd had to cancel our beach holiday due to Rohan's broken arm, we thought we could justify the cost!  If you were there on the same day as me, you might have overheard me bemoan the fact that we weren't allowed to take any photos inside the exhibition once or twice (or a thousand times!)
Luckily there was a certain car flying overhead and I took this photo on the way out.


Warrior Princess with Scrapbook Boutique

Yesterday was the last day of school term, which also meant my last day of work for now.  Today is the last day of the month, and I've snuck in just in time for one of my favourite challenges - from Scrapbook Boutique.  Here's the inspiration piece:


The challenge is to make a project "fit for a princess".  When I saw this, I knew straight away what I wanted to do.   When Maddy was younger, she used to love dressing up in fairy dresses and princess dresses.  Last year, though, she added Tae Kwon Do to her after-school activities repertoire, which also included ballet and gymnastics.
I'm really glad that she did 3 years of ballet - partly so I could vicariously live my unfullfilled ballet fantasies through her, and so she won't have the same regrets when she is older.
What I'm really glad about, though, is that she has chosen her own path.  Even though many of her friends think martial arts are "for boys", and in fact there are no other girls her age where she trains, Maddy chose Tae Kwon Do as the activity she wanted to continue with this year.
So here's the page dedicated to my Accrobatic, puppy-dog warrior princess (but not so much of the princess, thank you very much!)


As you can see, I've used the inspiration colours of pink, purple, white and yellow.  Although I had originally intended to use some of my new supplies, I ended up doing a 100% offcuts page - even the background is two larger pieces sewn together.  I maintain once again that you don't need to spend a lot of money to make a scrapbook page that you love!

I ended up using a sketch from Scrapbook Supplies Online, and have just scraped in for that challenge as well.


Thanks for dropping by!

Saturday, June 16, 2012

Stamp Camp memories

Not much craftiness going on here at the moment; I'm still working plus struggling with a cold, plus seemingly perpetual wet weather to add the challenge of getting the washing dry . . . you get the idea.
So today, I thought I'd finally publish a post on a page that I made back in April as an "assignment" for the "Hitchhiker's Guide to Scrapbooking class".  Chapter 3 is on using sketches.  Now I am no stranger to using sketches, so I could have skipped this assignment quite easily, but there was one sketch I really wanted to use.  The perfect sketch for someone with a Silhouette SD and knows they won't be getting a Cameo anytime soon . . .


See what I mean?  I can't fit a 12" sheet into my silhouette, but by hanging the shape off the edge of the page, it kind of looks like I can!

This story comes from way back in 2003 when I was heavily pregnant with Maddy.  My friend, Jade and I went up to our favourite Stamping shop's "stamp camp" for the day.
Can you see the name-tags that Jade and I are wearing in the photo?  Part of the preparation for the weekend was to decorate your own  name-tag, and both of us, without consultation, had added springy things to ours.
I used the same stamp as I did on my name-tag for my custom-stamped background.
If you've never done anything like my stamped background, it's actually pretty easy.  Start with your focal point (in this case my heading, stamp camp, in black) then randomly stamp your largest stamps (stamp in lilac and camp in blue) progressing down in sizes to fill in the blanks.  See, told you it was easy! 

This page could definitely be filed under "old photos go well with older products"; I used 3 sheets of paper out of the (thankfully shrinking) folder of "really quite old" papers, not to mention the fibres on the LHS border.

It's amazing that you haven't heard more from me about Jade, she is a dear friend and an avid stamper and scrapbooker.  The "House of Jade" is a  great source of inspiration to me, but it's her turn to have very young children, and my turn to re-train (last year) and attempt to re-enter the workforce (this year) making co-ordination time a bit of a challenge!
Jade credits me with introducing her to stamping, when she came to a Crafty Kids party at my house back in the early years.  I credit Jade as being the only crafty friend I have with a bigger stash than mine!

Thanks for stopping by, hopefully I'll be back in the craft room with something new to share with you soon!

Wednesday, June 13, 2012

Eggshell is the new white. (and "Product Challenge to Self wrap-up)

Last month one of my pages won me a $25 gift voucher to an online scrapbooking store.  Having not spent much money on craft in a while, I was pretty keen to spend it!  My first thought was to spend the voucher plus about another $10 of my own money, plus postage . . . and that's when things started to get complicated . . . my old arch-nemesis . . .postage!  The dilemma of  getting value of out my postage dollar has been the cause of much over-spending and stash-creating in the past, and is one reason why I limit my on-line spending these days.
After much to-ing and fro-ing, I decided to spend the $75 required to get free postage, rather than pay $7.50 postage.  Was it a good decision?  It's too soon to say for sure, but here's why it's at least not a terrible decision: 

  • First and foremost, I've been keeping track of my spending and know for 100% sure that it fits into my budget
  • I've tried to include some "staple" items in the purchase.  This time around that included some square envelopes, and some cardstock in basic, neutral colours.  (That was the plan at any rate - but at some point in the decision making process, I forgot to check if "eggshell" was actually white or not.  Turns out it's a pale grey, hence the title of this post!)  Other "staples" in any future purchases might be adhesives, replacement trimmer blades or page protectors.
  • When choosing my patterned papers, I made sure and got some colours I was short of, like yellow and blue.  I stuck to only a few collections, so that each paper would be sure to have at least one other in my stash that it's guaranteed to match. 
L to R: Echo Park This and that, Hello summer and A Boy's Life.

Basic Grey Konnichiwa, Out of Print, and Sweet Threads
 On the other hand, I steered clear of whole collection sets, as I couldn't see them in person to make sure I loved every single piece, and I didn't want to commit too much money to any one collection.
  • I've been so pleased with how well I've been using my fibres, that I felt justified in buying the more current version, baker's twine:

  • Buying lots of new stamps at once is almost guaranteed to mean some won't ever see ink, so I've chosen just one new set:

Particularly loving the doily stamp!
  •   I tend to use my Silhouette a lot these days for titles, but thought it might be fun to buy a few lettering options that I can't replicate at home (besides, I did win a $25 voucher, remember!)  I went for white, and sheets that matched two of the collections of papers I bought.
 
Thickers addicts will be shocked to know that this is my first ever pack! On special of course!

  •  Finally, I'll be monitoring my use of these products, to make sure I use them, before they get lost in the stash!
As this parcel arrived last Friday, the day before the long weekend, (and just before the end of my Product Challenge to Self month), I had a bit of dilemma about what to play with first.  In the end I came up with what I've called a "transition page".  So called I managed to score 4 points for my Product Challenge to Self, while at the same time using paper, stickers and cardstock (eggshell, of course) from my parcel.

Here's the sketch I used, from Pagemaps:


and my page, featuring Maddy and a reptilian friend:


My four points come from using my mini misters, fibres, stamps, and chipboard.
I was determined to give the chipboard another go through the Sizzix this month, and this time tried with the book labels and the photo turns.  I still didn't get a clean cut right through, but they were a lot easier to finish off than letters!  Then I had the idea to make the banner with chipboard - I ran each cut through my trimmer first, and finished off with a craft knife.  Too easy!  I think I'll be trying that one again!


So, to tally up my Product Challenge to Self:
Metal buckles, ribbon threading punch, felt, My Mind's Eye stickers/papers and embossing folders each scored 1 point.
Chipboard mat stack scored 2 points.
Thin strips of patterned paper and stamping Up stamp sets each scored 4 points.
Mini-misters scored 5 points.
And the winner of the day was fibres, with 11 points.
Conclusion:  Pretty good effort, if I do say so myself.  This process really helped me think about using products earlier on in my design process, and got me into (or back into the habit) of using some tools and products that are plentiful in my stash, as well as giving me some degree of confidence in introducing new ones (in this case twine).  I think there'll definitely be another Challenge to Self in the coming months . . .

Monday, June 11, 2012

Ten Inspiring Pins (Ten things on the 10th)

When I was first thought of the topic for this month's 10 things on the 10th, I imagined a fairly long introduction would be in order.  That was until I came across this . . .


 . . . ironically enough, on Pinterest.  (Incidentally, if art journalling is something you like, the blog this originates from, journalgirl, is totally worth a look).

So this month, I thought I would choose ten pins, and try and focus on taking inspiration from them this month.  Here we go:  


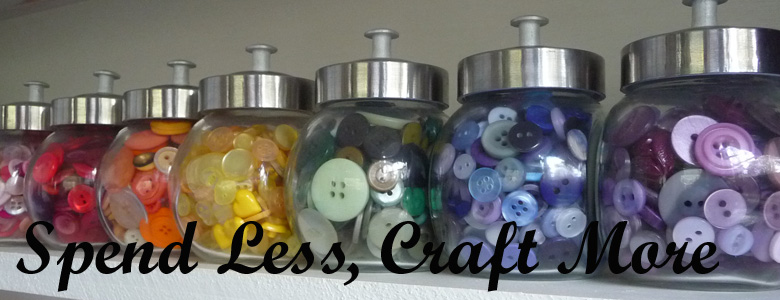
1.  Buttons. Lots of ideas here on using the old button stash!  Maddy is currently working on her own monogram button canvas!


2.  DIY Chevron.  (This one repinned from Two Peas).  Such a great stash-buster, using small scraps of paper in a chevron design.


3.  Dress-making patterns.  (This one pinned from Scrapboxx).  I certainly have more than a few of these lying around the house that I will never use again!  I wonder if I can incorporate one into one of my craft projects in the next month or so . . .

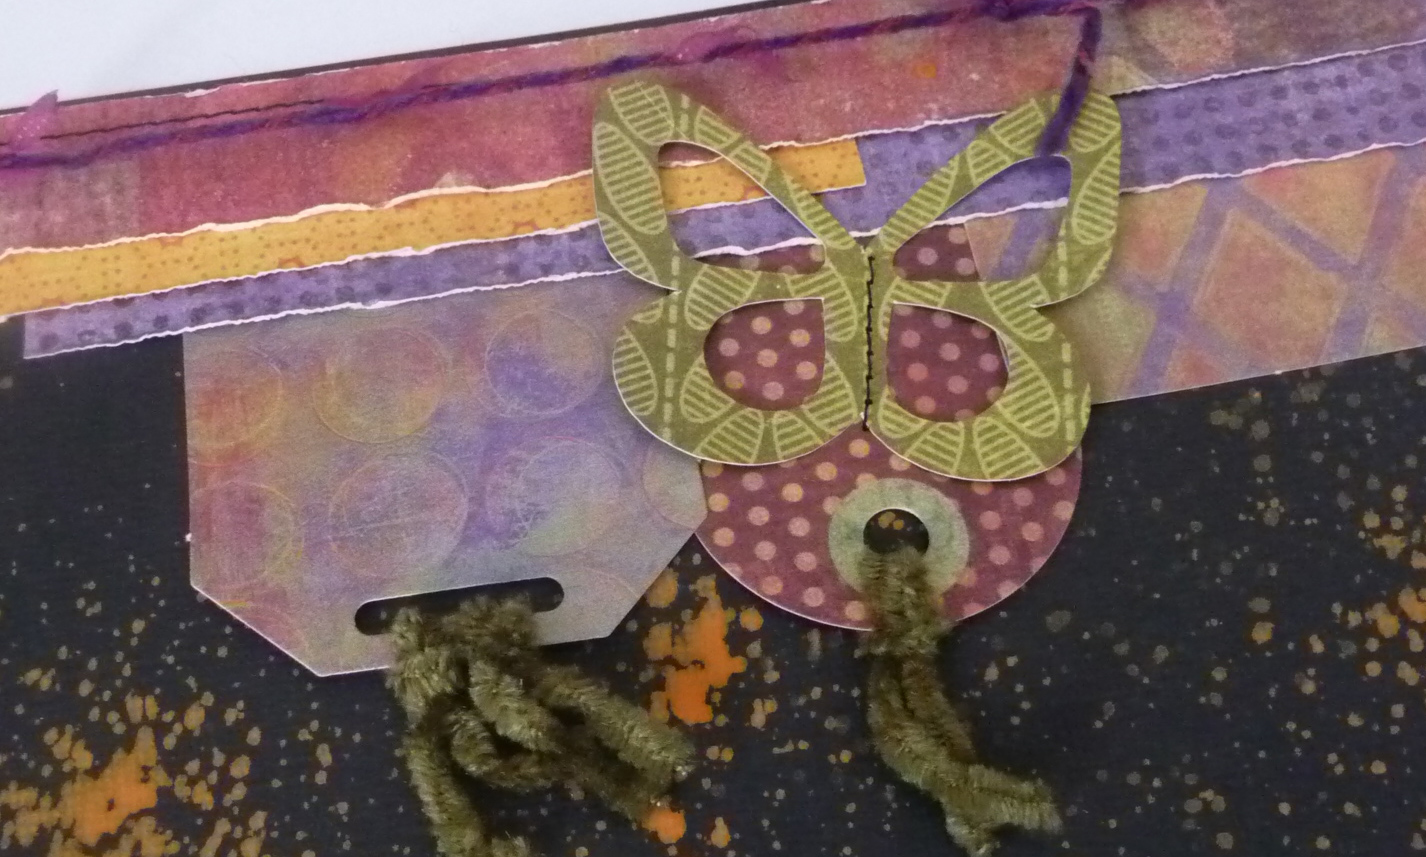
4.  Left-over alphabet stickers.  I am so in love with this alpha-fly.  Or is it a butter-bet?  Either way, judging by the number of re-pins this one got, I'm not the only one that thinks this is a great way to use those odd-bod letter stickers.  Thanks, Basic Grey Blog!

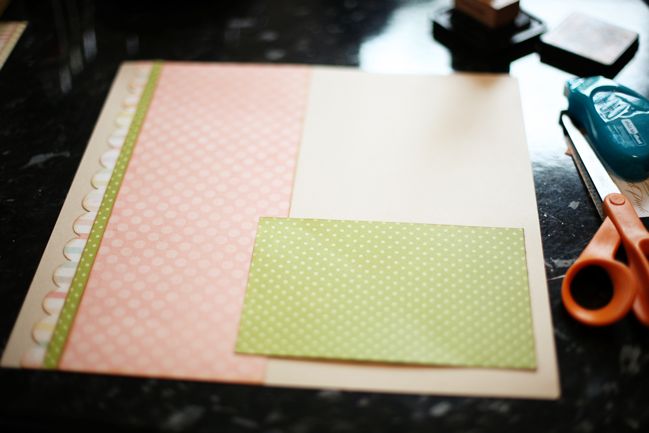
5.  Silhouette machine + scrap paper.  This one is a recent pin from My Minds Eye.  I love the technique of using the negative space, and especially how this page has filled some and left others blank.

6.  Scraps of plain cardstock + silhouette-style stamps + embossing powder.  I have pinned a few cards in this theme.  Whether the cardstock is a rainbow, ombre or any other  lovely colour combo, I love, love, love this idea!

7. Markers.  Pinned from A Consuming Passion, the colour-wash effect on the bottom of this card is apparently done by rubbing markers across an acrylic block, spritzing with water and then stamping.  Got to try it!

8. Embroidery floss.  The blog I pinned this one from, Our Change of Art, has several other great cards incorporating embroidery floss.  I love them all!

 9.  Book paper.  If re-pins are anything to go by, this one is another very popular idea!  Stamping over book paper - easy and effective.

10. Misting.  This list wouldn't have been complete without at least one pin from Shimelle, wouldn't you agree?  I love how she punched out the butterflies from a scrap and then used that as a mask for misting.  Would obviously work with anything cut from the Silhouette, as well.


So there you have it, ten inspiring pins!  Doesn't that make you want to dive into your craft room right now?  I know I do!  See you next time!

PS. After writing a whole post about spending less time on pinterest, I've just spend half an hour creating a new board, Stashbusters, which contains the above and many more, so pop over if you want to take a look!

Friday, June 8, 2012

Sunset photos

In the last school holidays, our family joined my sister's family on a camping holiday.  We went for a walk on the last evening we spent together, and ended up down by the lake at sunset.  I had lots of fun taking photos of the kids silhouetted against the sky, trying out different settings on my camera (and yes, the "sunset" setting really does make the colours richer).

After only just entering last month's ScrapFriends challenge at the last minute, as soon as I saw this month's challenge I knew it would be perfect for this photo!  Here's the sketch:

 
and here's my page:


I don't claim to be particularly knowledgeable about Scrapbook collections, but I do know that Basic Grey's "Fusion" line remains one of my all-time favourites.  I was happily surprised to find that I still had enough bits left to make this page, with a few other BG papers thrown in.


I was ready to give up on the idea of using letter stickers for my title, what with a shortage of "S" stickers in either of the Fusion colours, until I watched Glitter Girl this week.  She tackles the problem of letter shortages and provides tips for effectively mixing your letter stickers up a bit.  Definitely worth a look if this is a problem for you also.  So anyway, I went back, and by adding a "U" and "S" from an even older  BG collection with both Fusion colours, and I was good to go!


Product Challenge to Self:  I did really well again on this page, rocking the fibres yet again as well as breaking out the mini-mister.  And even better, I used the last product on the list: the ribbon-weaving punch!
As you can see above, I didn't weave ribbon but a thin strip of paper.  You know you love a sheet of paper when you save strips that thin!!! 


Thanks for stopping by!

Thursday, June 7, 2012

A quick card with Retro Sketches

With a couple of birthdays this month I wanted to make some cards.  But while I am working, I don't have a lot of time to sit in the craft room and play . . . thank heaven for sketch websites!  Sometimes it's fun to play around with a sketch and add to it or stretch it a bit, but when you're busy . . . that's right! . . . it's OK to embrace your literallness and let the sketch do most of the work.

Here's the sketch from Retro Sketches that I used:


And here's my card:


Yes, I was that lazy! I not only used the butterfly, but even the button! 
But my message today is this:  not everything you create has to be an award-winning, unique piece of art!  I would rather whip up a quick card like this, knowing it will still be appreciated by the recipient than to try and spend hours I don't have on a masterpiece (or, worse still, buy a card! LOL!)

Until next time, happy creating!

P.S. for my "product challenge to self" I get a point for once again using fibres, and a bonus point for using coloured embossing powder - I don't think I have touched that stuff since I bought it for Christmas cards I don't know how many years ago!